How To Install Fonts in Windows 10
Hey, welcome to pinepl in this article we will show you how to install fonts in windows 10, here is first thing is where is download windows 10 font for free with amazing style so don’t worry in this article we will show you where is download windows 10 fonts free and how to use this downloaded font in windows 10, so let’s start.
Where is Free Fonts?
Lots of websites provide’s free fonts to use in windows 10, so just check below list to download free fonts for your windows 10 operating system.
- 1001freefonts
- Urbanfonts
- Fontspace
How To Install?
Here we will show you step by step process to install fonts in windows 10, here first download your favorite fonts, visit above website choose any fonts save into your local computer.
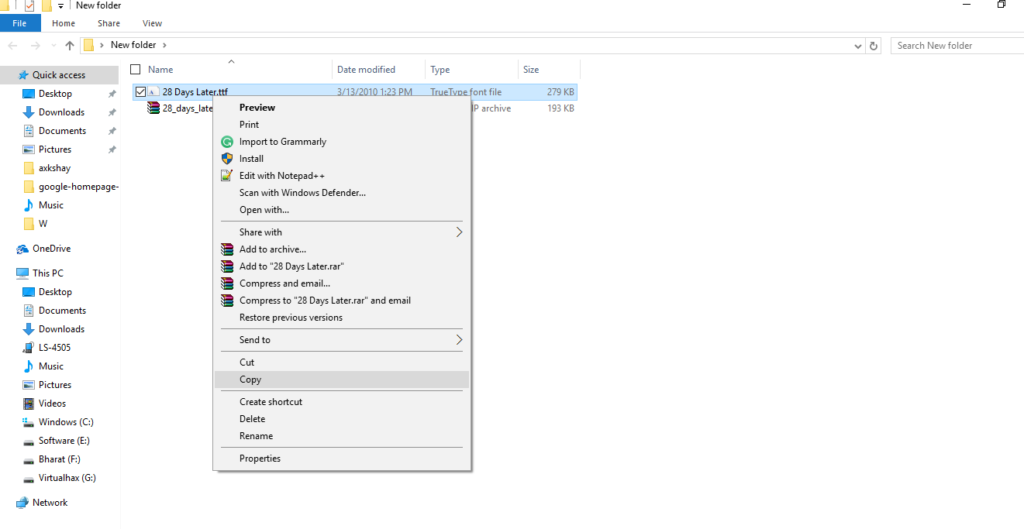
Step 1
In first step simple, navigate downloaded folder in your computer and copy font file, see below image for batter understanding.
Step 2
After copy font file , open control panel ,press win+r shortcut in your keyboard and type control and press ok button and open control panel.

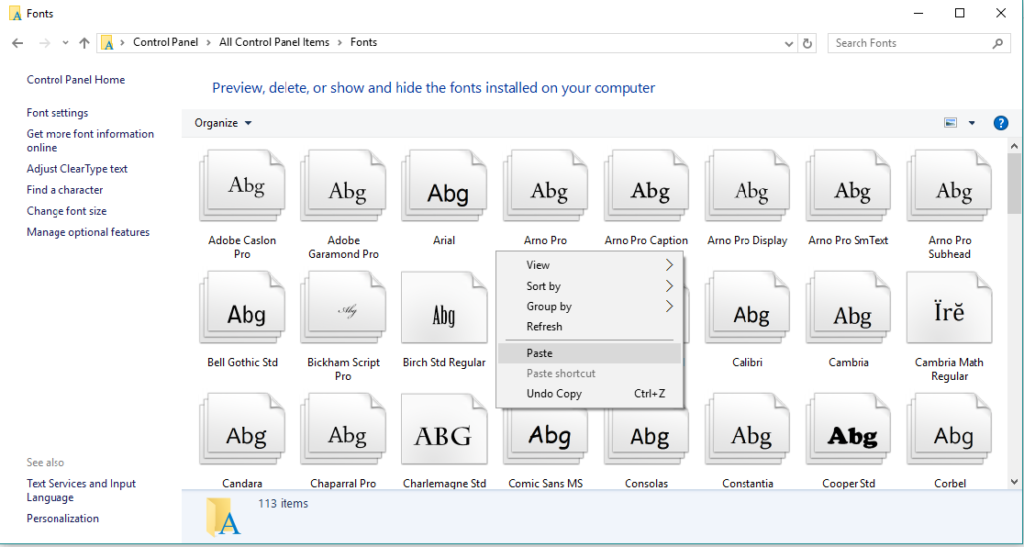
Step 3
After open control panel find font directory in control panel and paste selected font into this directory and refresh current windows.
We hope this article helped you learn how to easily install fonts in windows 10. You may also want to see – How To Change The Default WordPress Email Address.
If you liked this article, then please share to social networking site. You can also find us on Twitter,Facebook and Instagram.


Editorial Staff
Editorial Staff at Veewom is a Team of Experts led by sandeep Kumar.
You may also like this!
© Veewom.com. | Managed by PinePL
